Showing posts with label Cooking. Show all posts

Monday, August 07, 2017

THE Cauliflower Pizza Recipe

Here it is! I know I have promised to share it for a while now, but we have been busy this summer!
Now that things have slowed down a bit I have a minute to put this blog together.


This is our favorite pizza crust. Not just because the others use processed flours as a crust, this crust is really very good. Being low carb and healthier is just a nice benefit and you can pick up slices!

The ingredients that I use for one dinner plate/personal sized pizza:
Approximately 5 ounces of cauliflower.
1 egg
1/4 cup of Parmesan cheese
1/4 cup of mozzarella cheese
Italian seasoning and extra garlic powder

I use a pizza stone to bake the crust at 425 degrees, for about 15 minutes, or until the cheese starts to brown. I think the stone helps make sure any additional moisture is removed. 

If using a pizza stone, make sure you preheat the oven so that the stone is definitely hot.

Then I add the toppings of choice and put under the broiler until the toppings are heated, typically, more browned cheese.

The entire process begins here:


I say approximately 5 oz. because I typically use frozen cauliflower rice products. They are sold in 10 or 12 oz. packages. I microwave them as the instructions say (usually 5 minutes) and then scoop out half of the "rice" for one pizza.

If I am using whole cauliflower, I rice a head in the processor and then will weight out the amount I want to use for each pizza. Then I microwave it for 5 minutes and use it just like the frozen kind. I use the remainder of the riced head as "fried rice" in a day or two.

What to do with that hot cauliflower.
The most important part of this recipe, is to get the excess water out of the cauliflower before mixing it in with the other ingredients. Other recipes I have seen say to put the cauliflower in a tea towel and twist it in order to wring out the excess water.

Two problems with that plan: 
1) Most dish towels are not the right thing to use.
I have the right towel for this, thin, light weight cotton.
I used the twisting process one time. I tore a hole in my towel.

2) The water coming out of that towel is hot! 
Unless you let the cauliflower cool, but that takes patience.

My solution:
A potato ricer!


Living on a farm of people who grow a lot of potatoes and in a home that used to actually eat them, I own a potato ricer. In case you didn't know, and still eat potatoes, a potato ricer is used to get the lumps out and make really creamy potatoes.

Now I use it to make pizza crust.

I line the ricer with cheese cloth and then spoon the cauliflower rice into the basket. Fold the excess cheese cloth over to cover the cauliflower and then squeeze the bejeebeez out of it using the handle press. No torn towels and no burned hands.


See that solid looking disc in the bowl below? That is what comes out of the cheese cloth. Excess moisture is no longer a problem.


Then I add it to the other ingredients that I mixed up beforehand to make sure the cheeses are coated with egg. 


I get everything all mixed up and then dump it out onto some parchment paper.


I flatten it out some to shape it and get the thickness pretty even. I have tried just pressing it out all the way at this point, but it doesn't work very well since it was sort of hard to keep the thickness even. So, instead, I use another piece of parchment paper on top of the mixture and am able to get it spread out thin and about the size of a dinner plate. If any adjustments to thickness need to be made it is easy to move the mix under the paper.


After it is spread out, pull off the top piece of parchment paper and trim off any extra parchment paper from around the edges of the crust. In an earlier baking adventure, I didn't trim the extra paper. The edges rolled up and during the final broiling process... caught on fire when it touched the element. So, now I trim the excess paper.


After the crust is baked I add sauce, pepperoni, banana peppers, and mozzarella. 
Put it under the broiler and... PIZZA!


If it is Monday, it must be pizza night!

Saturday, October 19, 2013

Pumpkin Crescent Puffs

I have seen the basics of these puffs listed on lots of web sites, Pillsbury and Kraft included, they both called them Magic Marshmallow Crescent Puffs. One highlighted their brand product the other highlighted their brand product. Plenty of other places also listed these same ingredients and instructions - but nothing exactly like I made. So I am sharing with you.

I got the puff recipe from here:
And the filling recipe from here:
(The cream puff recipe on this site are pretty good too.)

Whatever they call them and whoever they belong to - I call them: 

Pumpkin Crescent Puffs
The Puffs - 

2
cans  (8 oz. each) refrigerated crescent dinner rolls

1/4
cup  sugar

1
tsp.  ground cinnamon

1/4
cup  (1/2 stick) margarine or butter, melted

16
Large Marshmallows

PREHEAT oven heat to 350°F. Separate dough into 16 triangles. Mix sugar and cinnamon; set aside.


 DIP marshmallows in margarine, then in sugar mixture, turning to evenly coat all sides.

 Wrap each dough triangle around 1 marshmallow, 

Completely covering marshmallow; pinch edges of dough tightly to seal. Dip sealed side in margarine; place, sealed side down, in each of 16 greased medium muffin cups.

 BAKE 10 to 15 min. or until golden brown. Immediately remove from pan.

Unfortunately, I don't have a picture of the stuffed puffs, but the Gunny Sack website above does. 

The cream filling:
3/4 cup heavy cream 
1/4 cup pumpkin puree 
2 teaspoons pumpkin pie spice 
1/4 cup sugar (they used maple syrup)
1 teaspoon real vanilla extract
In mixing bowl or stand mixer, combine cream, sugar, vanilla, and spice 
Whip until it forms stiff peaks 
Fold 1/4 cup of pumpkin into whipped cream 
Stuff your puffs by generously filling the cream puff shell with the pumpkin mixture
That is it - they were quite tasty.

Pepperoni Rolls

I think I made these before and probably posted it back then too, but they are pretty good.
So I will post it again.
The full recipe comes from Suzane McMinn at Chickens in the Road.

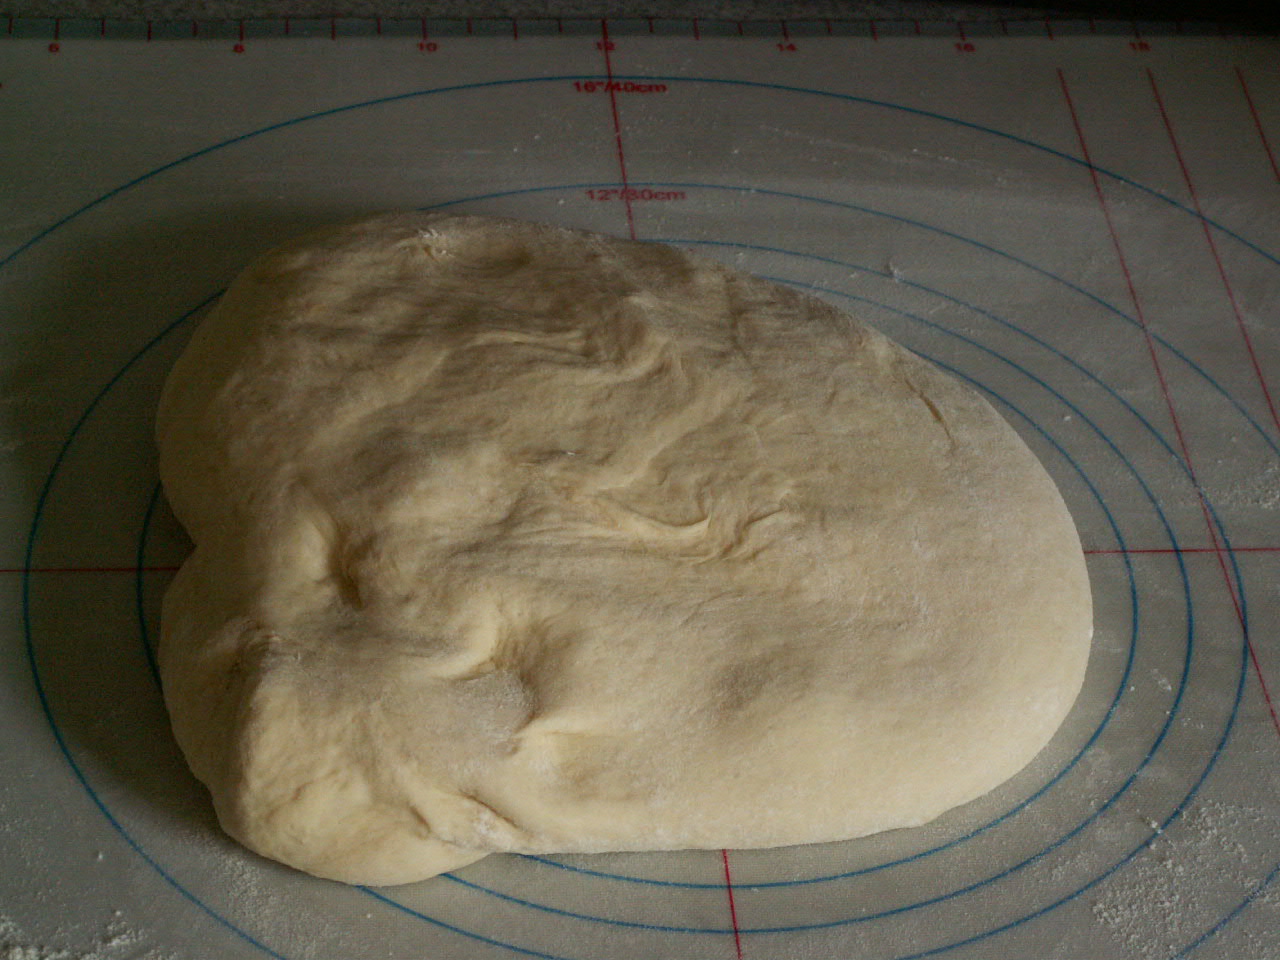
The time my dough has pieces of bacon, garlic, and shredded mozzarella in it.
mmmm bacon
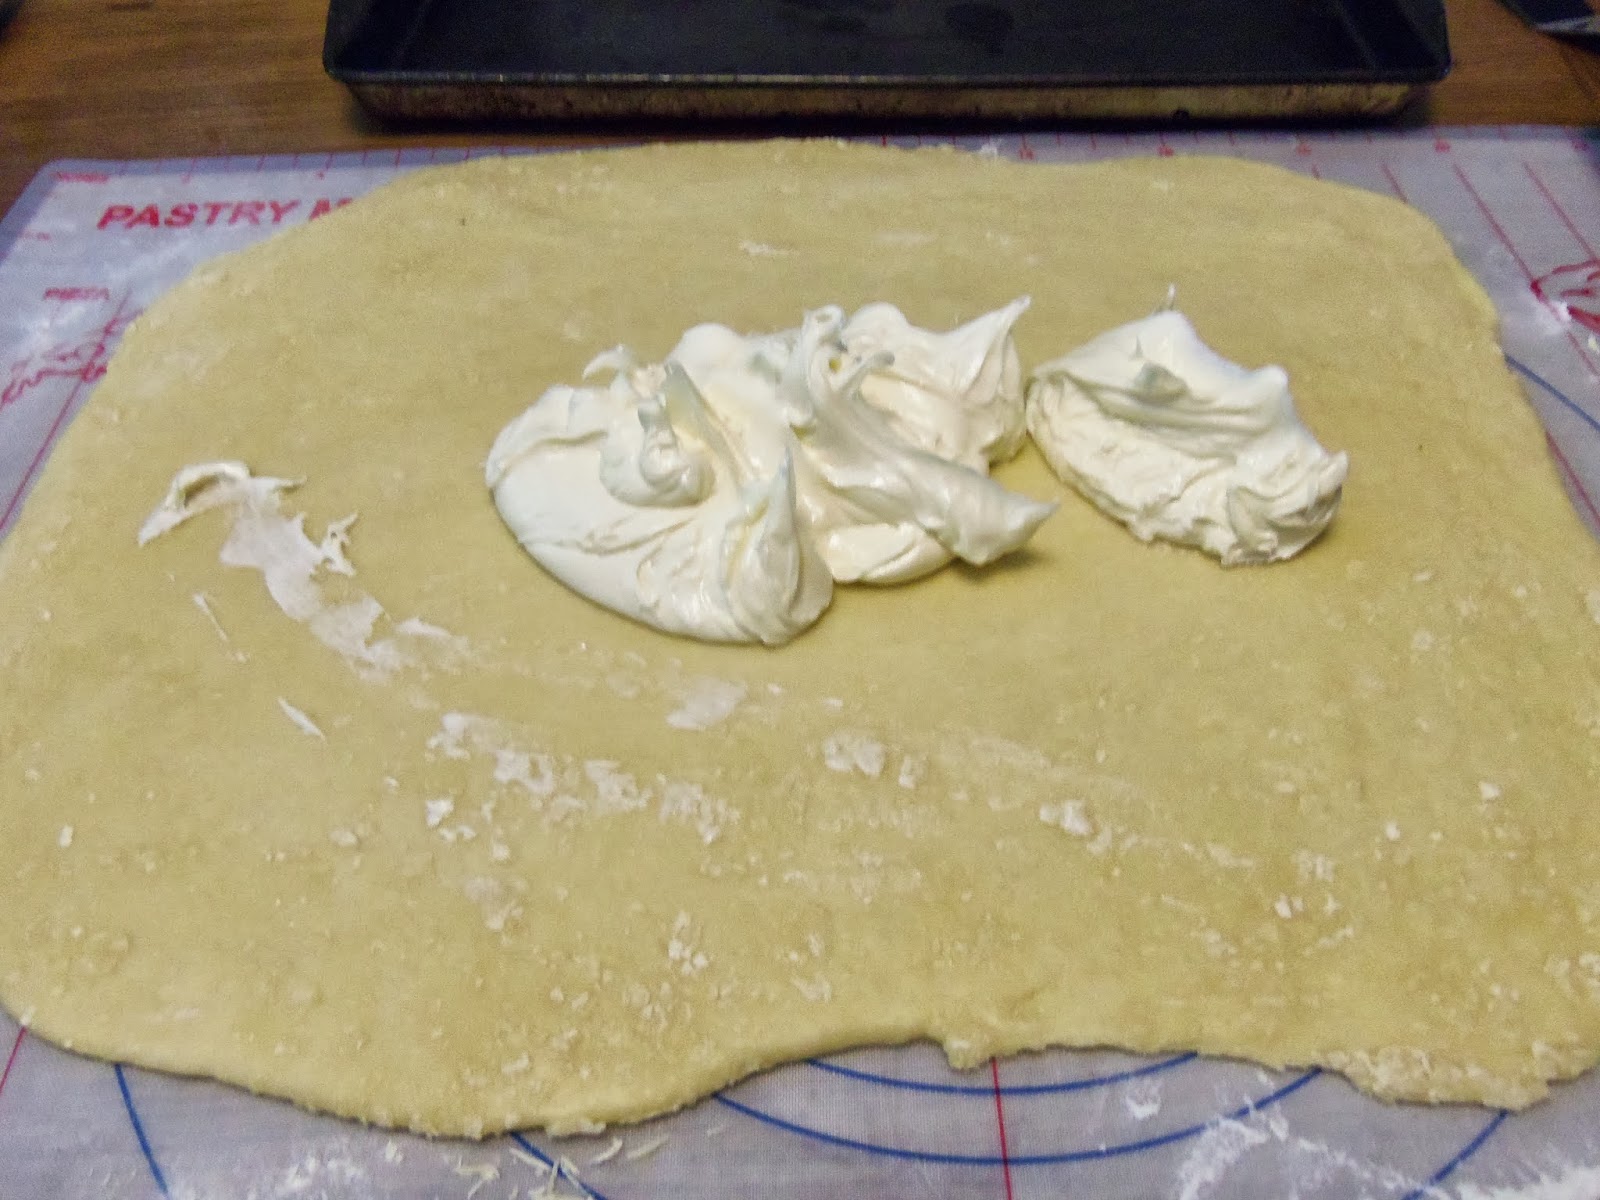
Roll out the dough and sprinkle with more mozzarella and some pepperoni.
Wonder why the shapes are so different.

Bake them for a while.
Feel bad about erupted rolls.
Let them cool some.
Tear one open and add some sauce. 
Enjoy.

Sunday, September 22, 2013

Croissoughnuts First Try

I decided to give the CroNut craze a try out here on the farm.

Don't they look wonderful?!
Total disclosure, I made some mistakes, but it was an adventure.

I used a recipe from the Dinner with Julie website, which I will include, 
just in case any of you get inspired to give this a try too. 

My first thought here was "Wow, anything with this much butter will have to be tasty!"

Then after the first fold I realized I should have done that differently. 
I could have unfolded and done it right, but I am stubborn. What happened was - after I refrigerated the dough and came back for the second roll and fold (turn) the butter started squishing out the edges and got pretty messy.
I should have skimmed that first layer with butter, refrigerated, and then after rolling it out the second time, skimmed that layer with more of the butter, and then the same for the third and fourth turns also.
It would have probably made the layers more flaky. I also used bread flour when the recipe says to use all-purpose.

But hey it rolled out pretty nice after I got the mess under control. The recipe says 30 minutes of chilling time, but I think 45 minutes worked better. It does take more rolling out muscle and probably one of those rolling pins that don't have a handle. I was concerned about bending the handle with all the force needed to roll out cold dough.
This is the last rolling before I cut out the croissoughnuts.

The layers are visible.

Into the fryer and rolled over. 
This oil left sort of an after taste. I think it was the oil anyway. I am going to try something different next time.
I don't even know for sure what kind of oil I have in the cupboard it is either vegetable or canola. I will try the other one I think.

The end product of the first attempt.
Yes I fried up all the holes and bits too.
Can't waste anything!
So that was the first attempt.
I will try again.

Sunday, June 03, 2012

FabHub's Birthday Cake(s)

Somebody's been baking again.
Mini Pineapple Upside Cakes
Not quite what they looked like in the magazine.
Brown sugar, pineapples, and maraschino cherries.

Topped with pineapple flavored (or just plain yellow) cake mix and put in the oven. 

Loosened edges are important. Sorry top right corner cake.  
And shared with anybody I can get to eat them.
:)

Friday, December 02, 2011

Baking Fun

November was full of baking. Here are some of the best products of the month.

When you take this...
and this...


and do this to it (yes cheating I know)...

you can get some of this!

Then you do this...
and this...


      and put them in pans like this...
You can get these!
This is bread that makes wonderful sandwiches and toast.
Just enough chew and no sticky softness.
The butter or mayo or mustard or jelly doesn't soak through the double sided crust.
Usually I use one of those bread shaped lunch boxes as a "cookie" cutter to get the perfect size.


Or you get these!
These buns are good for BBQ and soaking up sauce.

Since all the "easy" dinner fixing were already spoken for regarding the holiday dinner, I made some appetizers for Thanksgiving Day.
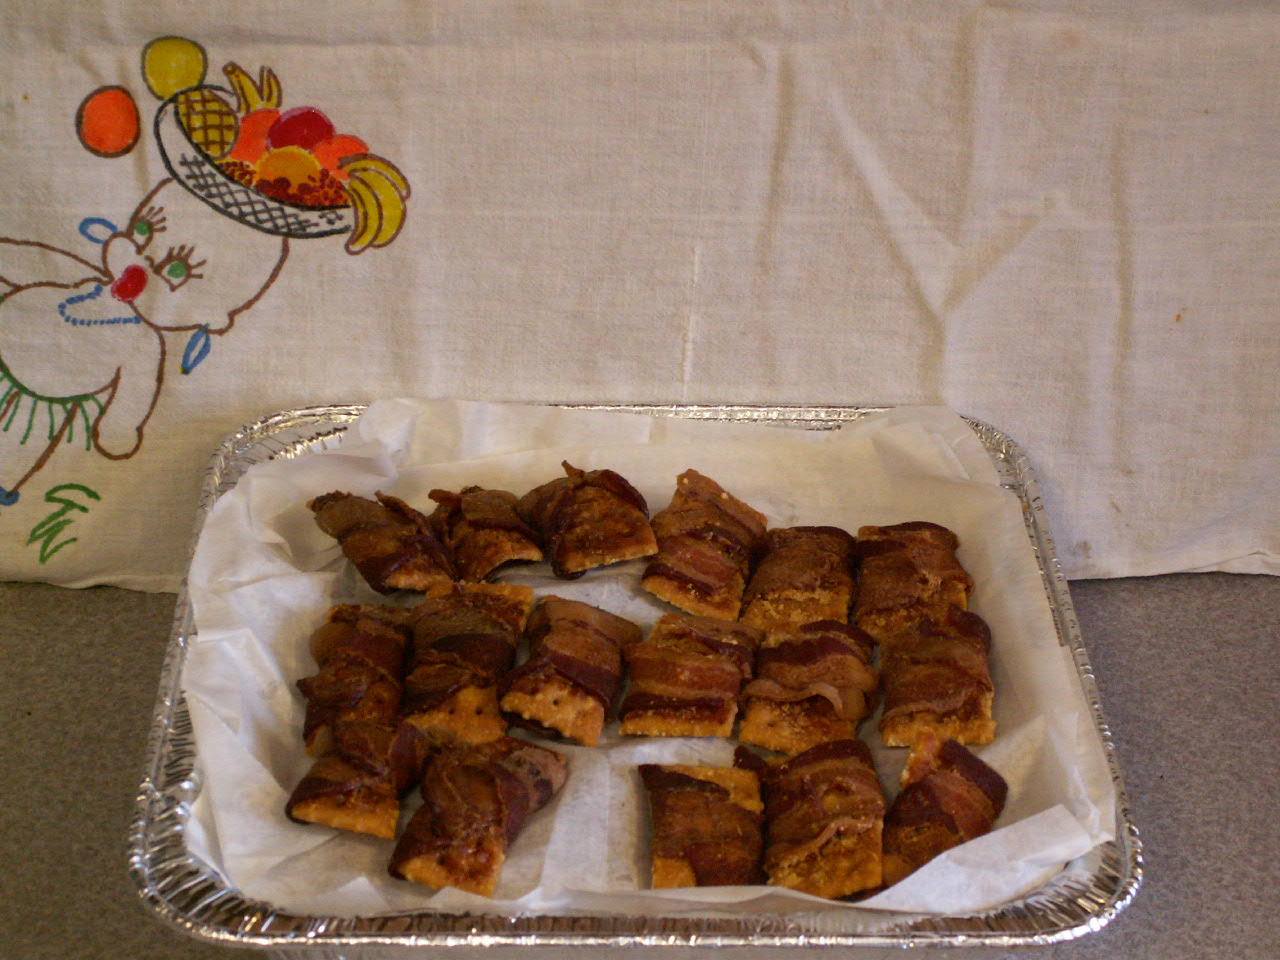
One of them was given the name - Baconaters.

They were made of these ingredients, plus a package of bacon.
I also made a batch with brown sugar instead of the cheese.

They looked like this and were absolutely fabulous!
Not good for the diet, but it is the holidays!

Another thing I made had these ingredients. 

Sort of like pepperoni rolls, but smaller.

There is a reason we stay so "healthy" in this house.
I love to cook!

Saturday, August 06, 2011

5 o'clock Rolls and Cherry Nut Bars - Cooking from the Antique Book

Uncle Brad asked Mom for Grandma's cinnamon roll recipe that you punch down several times and let rise overnight and then bake in the morning. Mom found the recipe in a cookbook that seems to be an antique from the Northwest Iowa olden days.

It turns out they are called "Overnight Buns" aka "5 o'clock Rolls" as Mom remembers them being called in Grandma's house for many years. The instructions say to mix the dough at 5 pm and then punch it down every hour until 9 or 10 pm. Then make the buns or cinnamon rolls and put them in the pan to rise until morning.

This is my first attempt at that recipe. To be as authentic as possible to the heritage - I bought lard. And used King Arthur's unbleached flour. Because Lard and good flour could only turn out well. I should have put as much thought into the yeast since I didn't get much rise.
It is a big 10 to 12 cup of flour recipe so I cut it in half, which might have caused a problem too.
.
They didn't get very big, but the finished product does have a wonderful airiness about it. 
And they are very tasty.
I used half of the dough to make cinnamon rolls for the first time too.
Though they tasted great, I need more practice. Lots more practice.
Good thing I have people to share with at work.
In an attempt to warm up the kitchen for the rising dough.
I pulled another recipe from that antique cookbook.
Cherry Nut Bars
They might not look as good as Mom's did, 
but they bring back memories of coffee time snacks out on the farm. 
Dad and Kenny coming in from whatever project they were working on for a cup and a snack.
Maraschino Cherries, Coconut, and Pecans.
Butter and sugar.
Smile.

Saturday, June 18, 2011

Garden 2011

My garden is coming along nicely this year.
This is my pea bed. I haven't tried them before. The vines are pretty well loaded.

I had beans crawling up string in here last year.
Now I have horizontal lines running between the end poles to give the peas something to hang onto while keeping them off the ground. 
This is the first real mess of peas I picked.
I need to figure out the best time to pick them.
If the pods are too full the peas are tough.
Too small and the peas pop when you eat them and are sweet and tasty, but that isn't right either.
Chewy or sweet, there was enough to make dinner for FabHub and me.
I used wavy noodles and cooked up some pulled pork.
Then made a sauce and put the peas in it for a couple minutes before adding the noodles and pork in.
Very tasty.
I have another pile in the kitchen right now.
Dinner is going to be good!
Schnitzel (ok, it is beef, so really country fried steak with schnitzel coating), homemade spaetzel, and mushrooms with peas. Oh and a nice German Riesling Spatlese.
We are living the good life today!
The rest of the garden is doing fine.
If we could eat marigolds we would be doing awesome!
All those plants from last year left behind seeds - EVERYWHERE - in the beds and in the mulch between the beds. That is okay, they make a nice cover crop to keep the dirt from being completely exposed. I need to add some mulch to help with that though.
The butterflies are enjoying the marigolds too.
I don't know if this is a good butterfly or a bad one.
But it is pretty.
On the other end the scarecrow is keeping an eye on the corn and sunflowers.
I haven't grown either of them successfully in the past either.
I keep the rows covered in mowed grass mulch though and if I hadn't pulled some of the corn up as weeds, (hey corn is a grass and looks like grass, OK?), anyway, the corn would probably be thicker. 
Crows might have gotten some of it too. They ate up every bit of corn Nephew #1 planted up by the potato patch. Nobody was pulling weeds in those rows so it wasn't that, there wasn't any corn growing after two weeks. Something ate it.
That is the garden this year. Let's see what happens.
We are looking forward to some good homegrown dinners.